

how to install peel and stick tiles
This Peel and Stick Vinyl Tile tutorial is in partnership with Armstrong Flooring, a company that I am thrilled to partner with and personally chose for our flooring in this space. So good!
Week 3 of the One Room Challenge remodel continues our entry/mudroom area remodel and this week is all about flooring. Specifically, Peel and Stick Vinyl Tile.
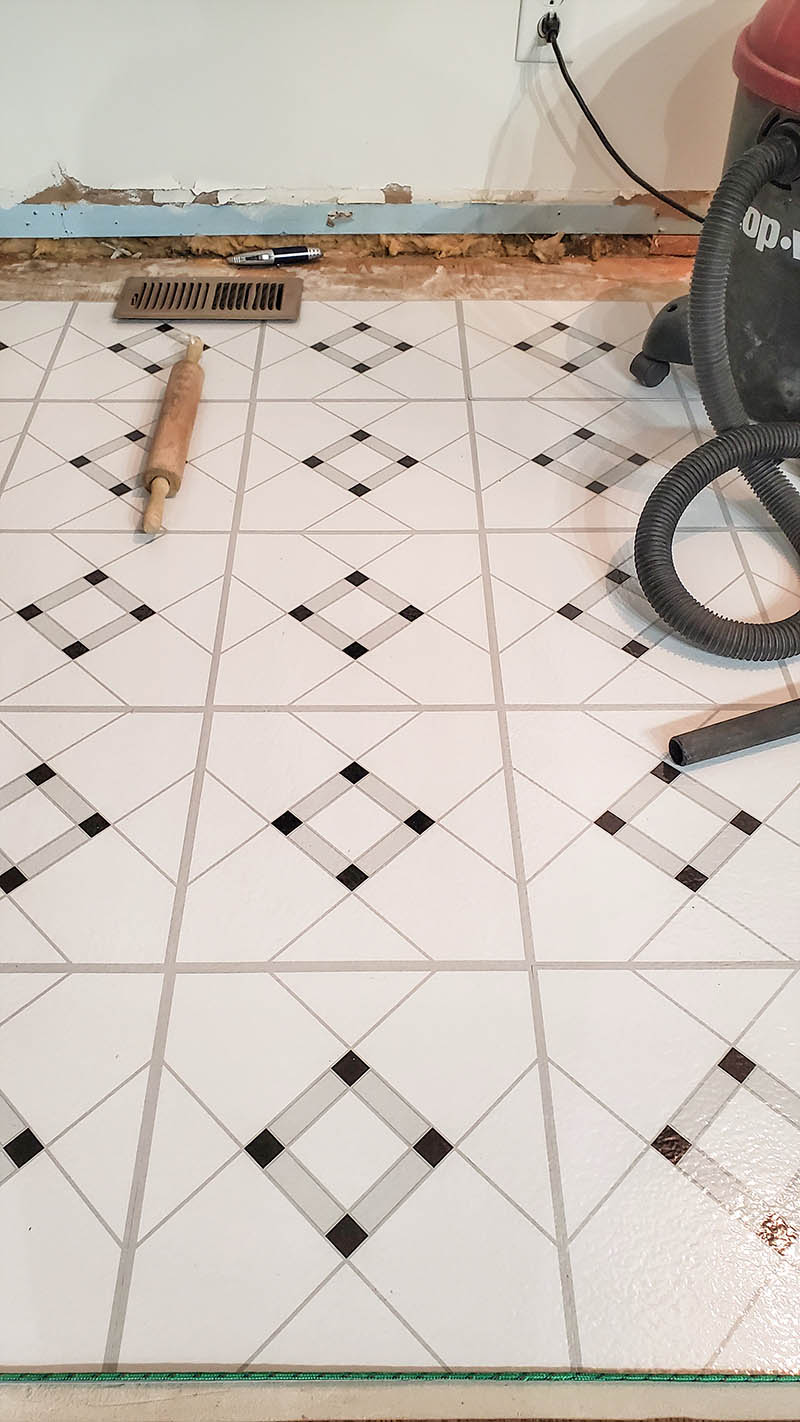
We chose Armstrong Lattice Lane Peel and Stick Vinyl tiles for the flooring in the entry and extending through the kitchen area.
If you would like to use this same tile it is available at both Home Depot and Lowes.
Why did we choose Peel and Stick Vinyl Tile?
- It is budget friendly.
Vinyl tile is quite budget friendly in comparison to the other options for DIY flooring or for having them professionally installed. Obviously, like all flooring, there are various levels of price point and materials.
We chose Lattice Lane because it has the black and white pattern that I am looking for in this space. - Peel and Stick is DIY friendly.
Peel and Stick Vinyl tile requires plenty of preparation and careful installation but, if you follow directions well, it is a good project for a DIY'er. Especially in a small space. - Peel and Stick Vinyl tile is easily replaced.
Because we are still not sure what we want for flooring and it has been 3 years since we moved here, we wanted something that wouldn't be ridiculously permanent and difficult to take back up. Ceramic tile and real wood floors like the rest of the house are good options but only when we are ready to commit to the flooring for a LONG time. - Peel and Stick Vinyl tile is easy to repair.
We have an extra box of the tile for the purpose of repairing squares, as needed. Although we have prepared the space properly and done everything we can to install the tiles properly...we will most likely still get scratches and marrs. We can simply remove the offending square, and replace it with a new one. - The tools needed to install the tile are already in our toolbox and easy to use. A utility knife is all that is needed to cut it, even.

Prepping the floor is everything!! Although installing these tiles is not hard to do it IS time consuming. Part of that reason is the time involved in properly prepping the floors.
Vinyl tiles will eventually pick up the underlying texture of the subfloor. The time you take to prep the floor will be worth every moment. Be patient and take the extra time.
We were working with an 1880 home that has had multiple additions, fixes, and changes. Most of the kitchen had vinyl floors that were in good shape. We left those in place. Other places in the room we had to go down to the sub floor. Still other places needed new sub floors installed. Each of these subfloor materials needed to be properly prepared to give the vinyl tiles a good opportunity for the adhesive to stick.

How to Prep floor for Peel and Stick Tile:
Supplies you need:
1. Leveling compound
2. smoother
3. Alcohol and water solution
4. small hand sander
5. ShopVac
Tip for taking up any paper or adhesive that may stick to the subfloor when you remove old vinyl:
Using the steam option on an iron, gently iron the paper until it is wet and warm. Do not let it cool before you use a scraper to immediately scrape up the paper. Repeat across any paper that did not come up properly. Be sure to sand the flooring before installing the tile.
- It is recommended to remove the trim/baseboards, any thresholds, and outlet covers.
- Start by vacuuming and cleaning the floor. Just a simple vacuum and mop, to start.
- Deal with any nails, screws, dirt build-up or other imperfections that will affect the install of the vinyl tile.
- Be sure any vinyl that is being left on the floor is in good shape, is adhering properly, and is clean.
- Use leveler and a trowel to level and create a smooth surface on any of the subfloor that is uneven. Be sure to follow the directions of the leveler you use.
- Sand any surfaces that are rough and uneven. Most likely, if you used leveler, the subfloor will require sanding to smooth and ready it for vinyl tile.
- Give the floor another vacuum and mop right before starting. From this point and until the floor is complete, you want to try to keep the area vacuumed. You want to avoid dust and dirt settling into the the seams as much as possible, until they have sealed.
How to install peel and stick tile on plywood:
- Be sure that the plywood is properly secured. Add additional screws, if needed.
- Use leveling compound on any seams and give it proper time to dry.
- Sand the compound, if needed.
- Vacuum and clean the floor well.
- Install the tile being sure to keep the floor clean, as you go.
- Be sure to use a roller to help the tile adhere to the plywood. Use a roller especially on the seams!
How to install peel and stick tile on vinyl:
- Be sure the vinyl is clean and in good shape.
- If needed, cut back any vinyl that isn't adhering properly with a utility knife.
- Use leveling compound, if needed. Let dry, as instructed.
- Sand the leveling compound, if you use it.
- Vacuum the floor AND use a mixture of alcohol and water (use gloves as this is very drying) to wipe the floor to prepare it for the tiles.
- Install the tile and be sure that you keep it vacuumed and wiped, as you go.
- BEWARE! The tile sticks much faster and is a bit harder to move on vinyl surfaces then other subfloors. You need to be a bit more precise then on other surfaces.
- Roll the tile to help it adhere to the vinyl, especially on the seams.
Note: the tile comes with the amount of adhesive that you need, you won't need more. BUT a good strong bond is the most important. We found that you need to use your body weight rolling against the tile and repeatedly roll the tiles. In fact, we went over the floors multiple times.
Hack: In some places, the seams weren't sealing as well as we would have liked. We pulled out a hair dryer, warmed the vinyl, and rolled those seams HARD until they cooled. This was effective in helping tighten up the seams in between tiles.
How to decide where to start laying your tiles.
Hint, the answer is NOT to start on one wall and work your way across. Not that I had this conversation with Nate. Not true, we totally did. He was convinced that we should start at one wall and work our way across the room.
Here are the reasons I gently told him that would be a bad idea...
Why you should NOT start laying your tiles on one wall and work your way across:
- In many homes (definitely the case in our 1880 home!) your walls are not straight and true. If you use them as the starting point...your floor will not be straight and true.
- If you are using any kind of pattern you want that pattern to FEEL right down hallways and in certain spaces. I wanted the pattern to feel centered to the hallway and entry. That may not happen if you start with the wall.
- Most likely you will not get exact tile widths on all sides. Ideally, you have at least ½ a tile width on all sides, against the walls. This is best for the tile to stick and looks best on your eye. Little bits of tile along the wall edge just isn't a great look.
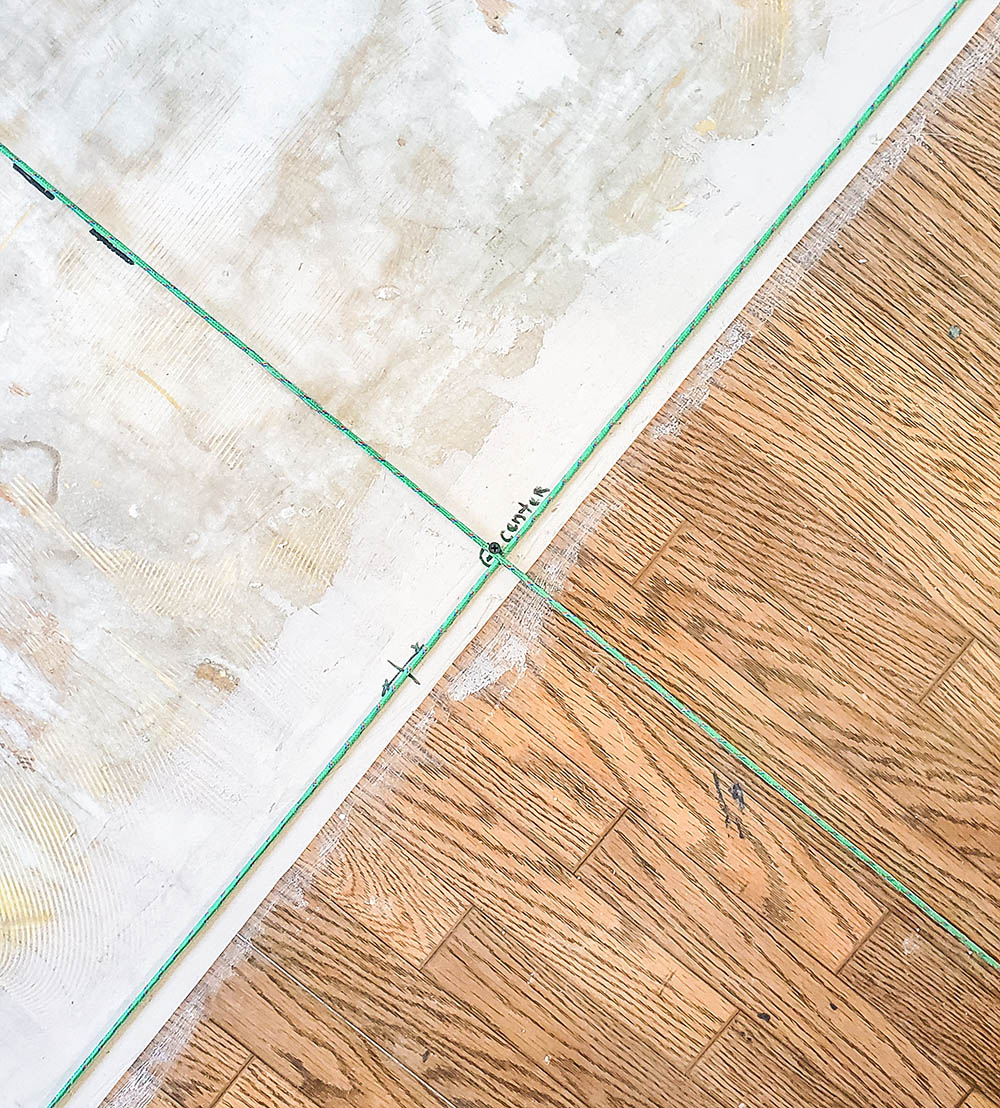
You should, instead, start in the center of your space:
- I KNOW, so much prep! I'm asking you to take the time to find the center of your room and create an X, of sorts to work off of.
You can find a good idea of how to do that here: https://www.youtube.com/watch?v=cadTVNkVpV0
- Lay out your tiles with their paper backing on to make sure that the layout looks good and you don't have tiny pieces along the walls.
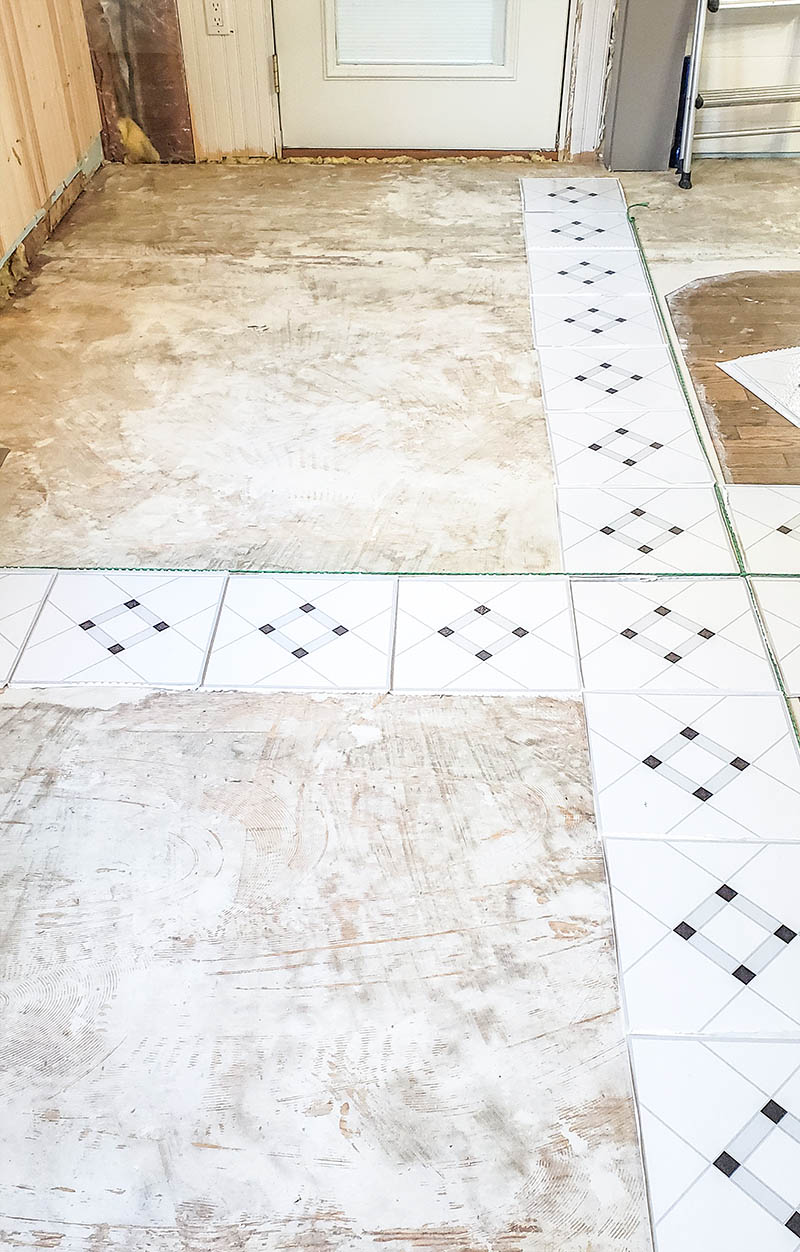
- Once you have found your center, install in "quadrants". I have zero idea if that is the correct term but basically work your way through your X.
- First, install whole pieces and leave the edges for last.
- Last, cut and install edge pieces.
How to install peel and stick vinyl tiles:
Materials needed:
1. Peel and Stick Vinyl tiles
2. Utility knife
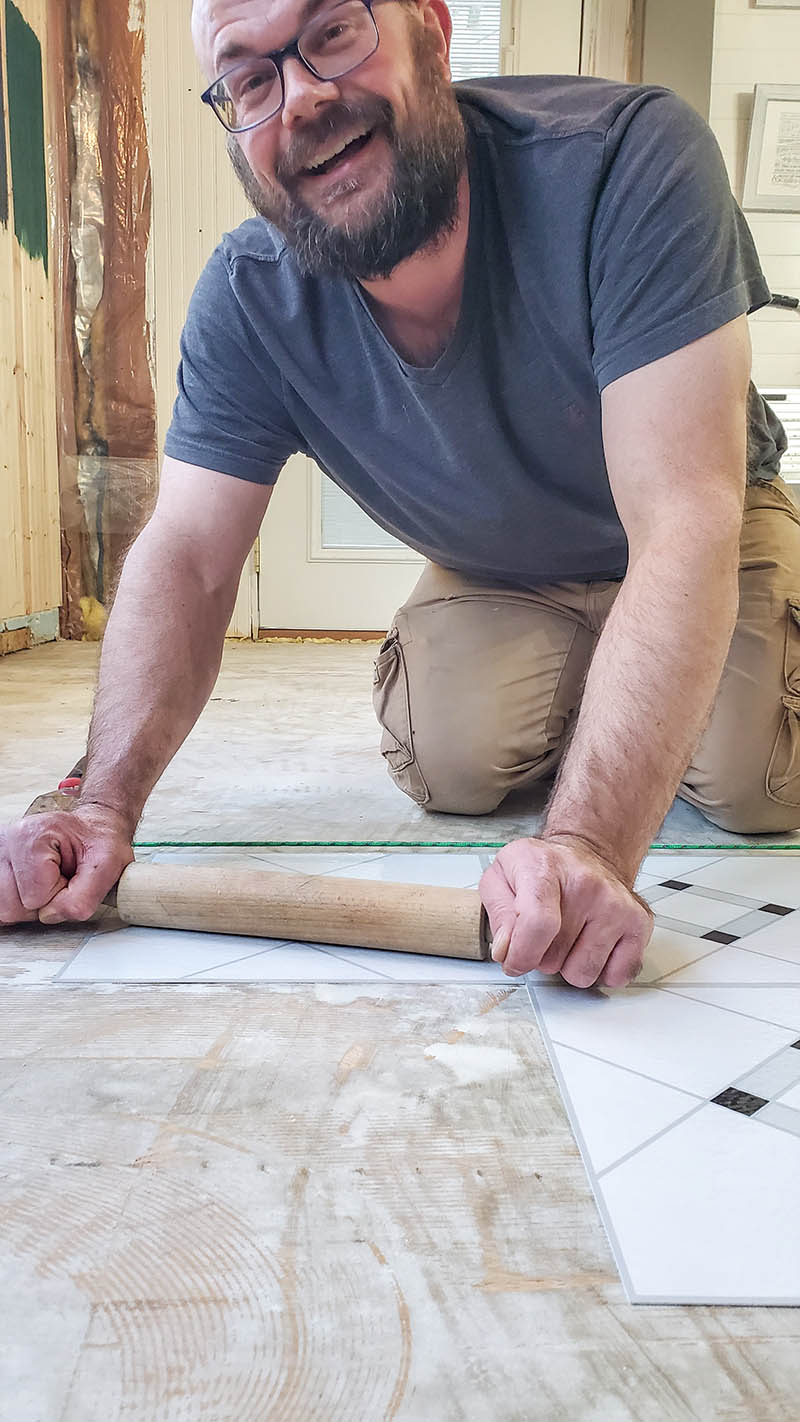
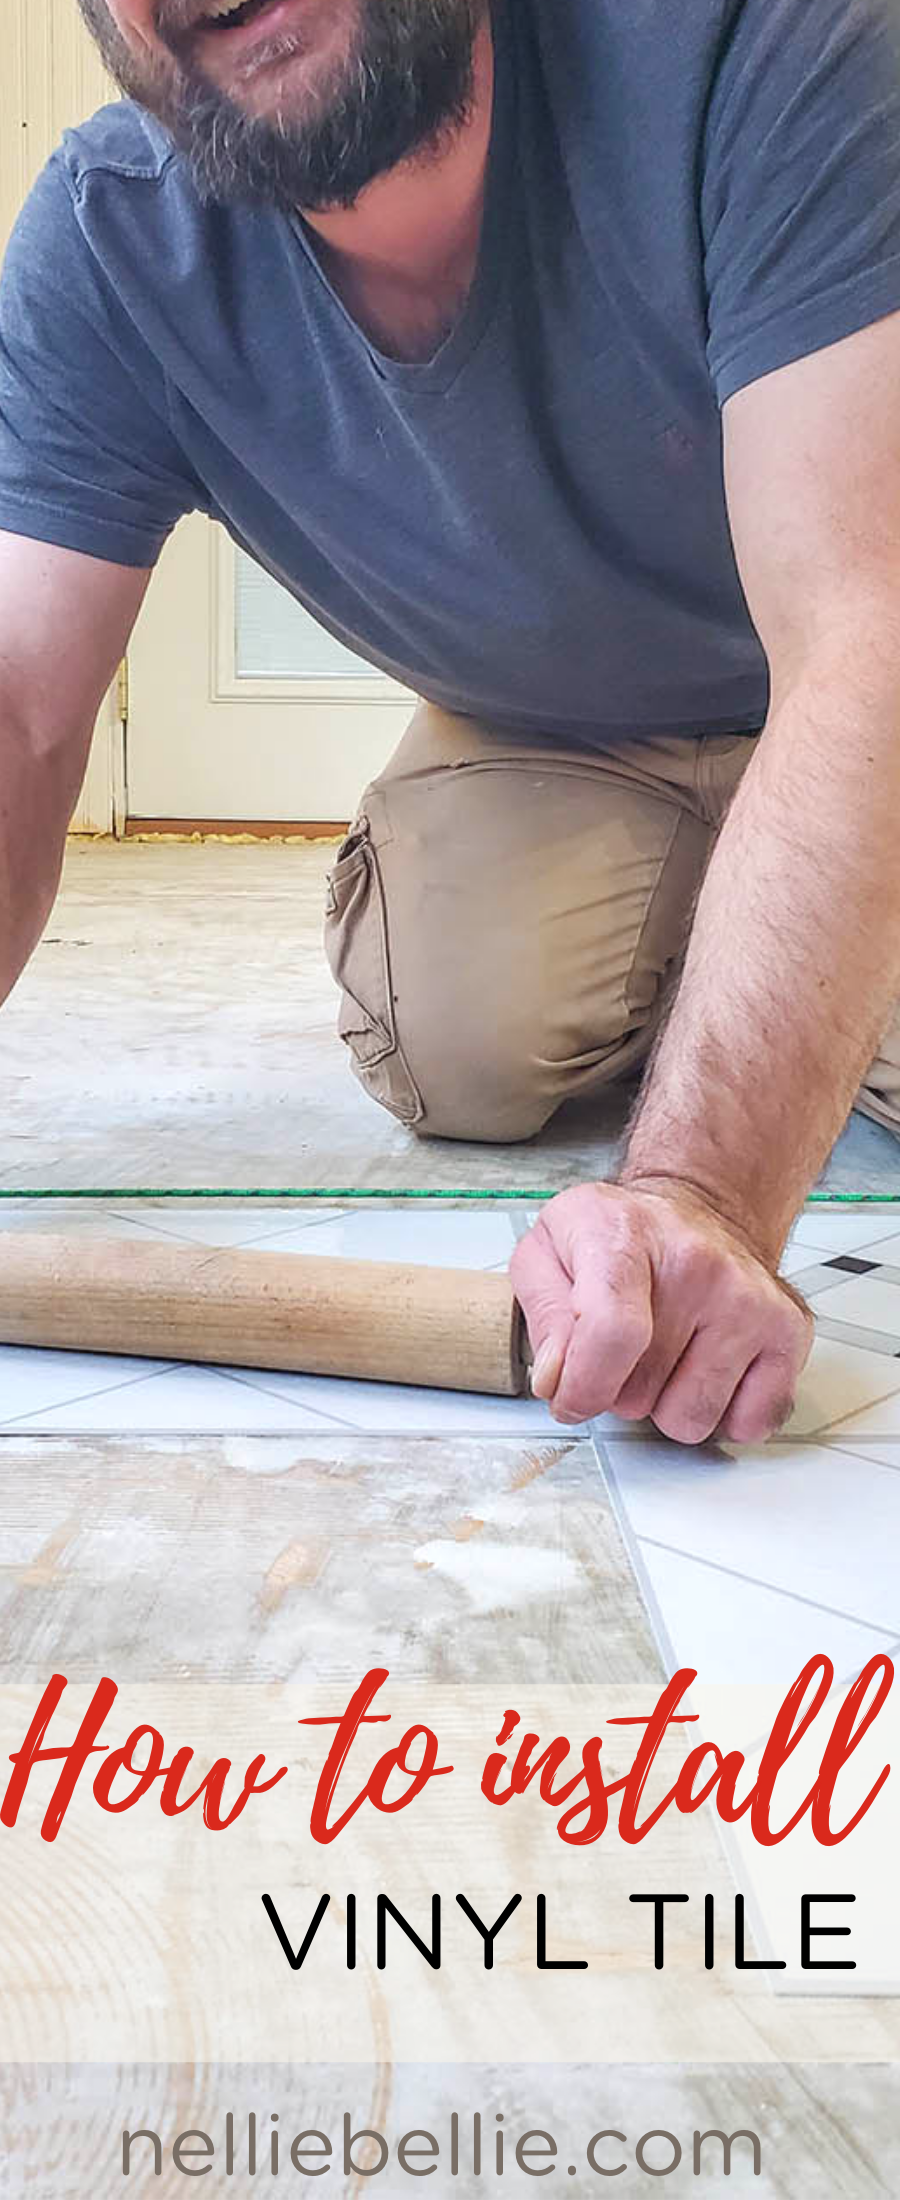
3. Rolling Pin
4. Hair dryer
5. ShopVac
And now friends, is the easiest part. But be warned, it DOES take a bit of time. You need to take the time to vacuum before each tile install, install the tile as carefully as possible, and roll the tile to allow it to adhere.
- On a properly prepared surface, use a shopvac to remove any dirt or dust that may have appeared.
- Start with the edge of the tile that lines up against another (if you are just starting a the room you will need to use your strings to give you your edges to use) and remove part of the paper backing of the tile leaving some of it still there for you to hold the tile with.
- Carefully line up the tile as tightly as possible without laying the tile down, yet.
- When you are happy with the line-up carefully start laying down the tile pulling the paper backing off as you lay. Keep the tile tight against each other.
- For a few seconds the tile can be shifted a bit one way or another. Do that right away, if needed.
- When happy, use your entire weight to roll the tile and give it a good bond with the subfloor. You will hear the vinyl tile "squeaking" as you roll. Roll it until that squeaking isn't as strong.
- Repeat with the next tile.
- Note: Use the hairdryer trick with any seams that aren't adhering as well as you would like.
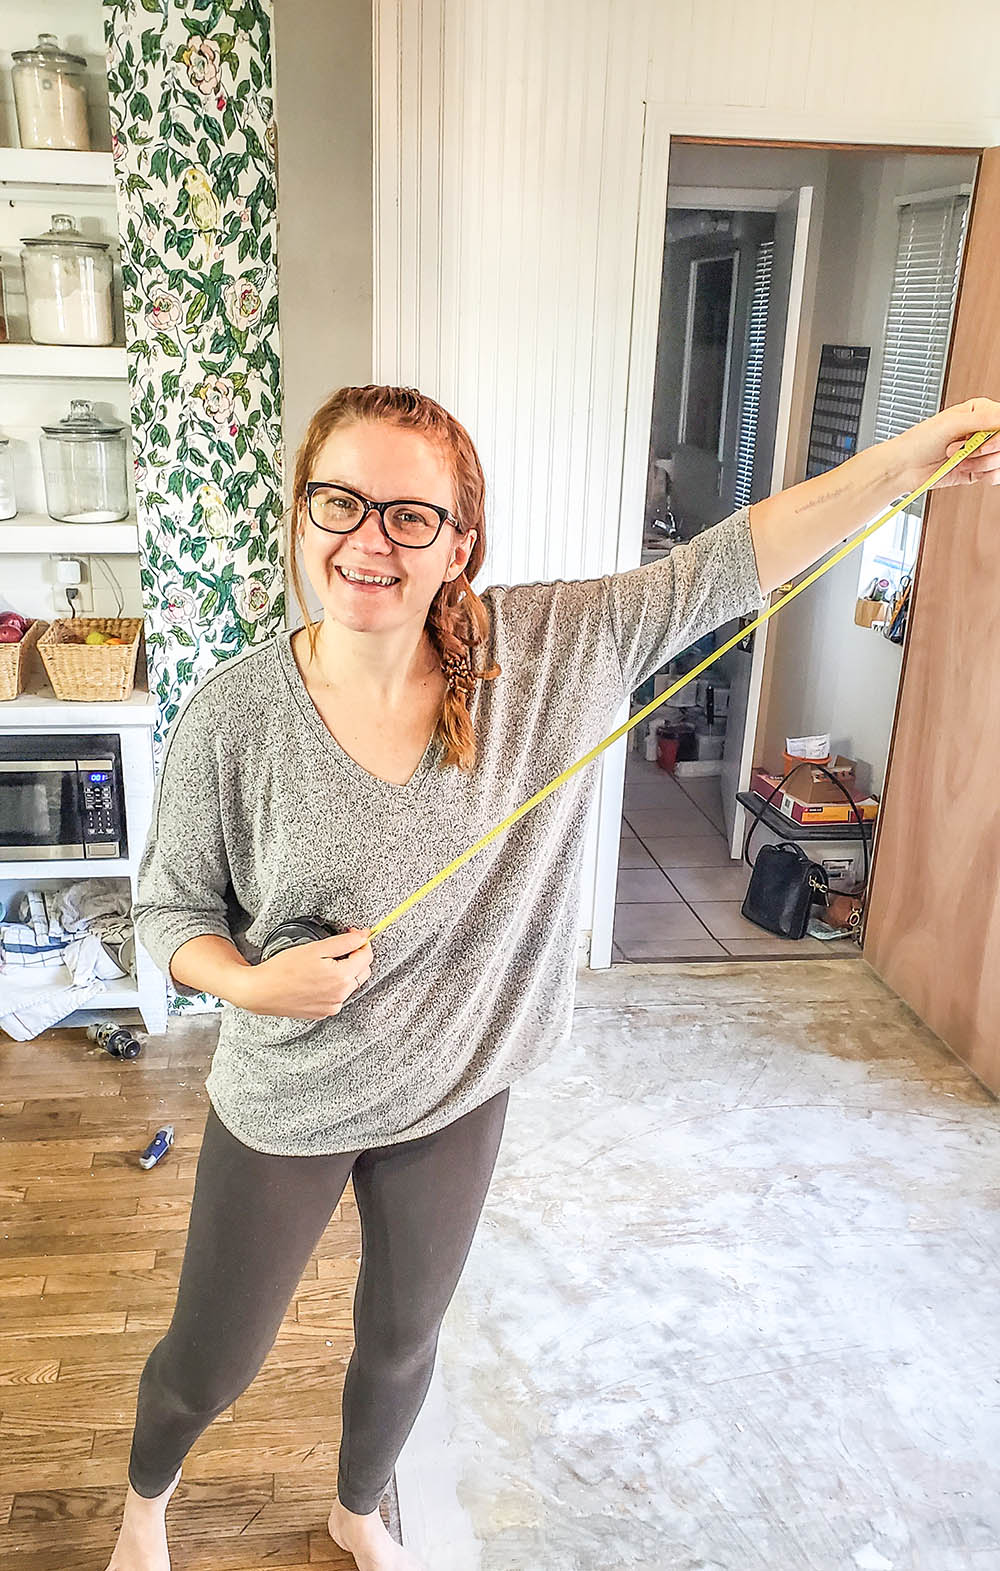
- To cut pieces, use a measuring tape to measure the needed tiles and use a marking pencil, chalk, or other washable marker to mark. A sharp utility knife works well to cut the tile.
- After installing, go back over surfaces and roll any seams that aren't as clean as you would like. We found that setting a hard material on top for a few hours helps give it a better chance to bond.
This project is part of our One Room Challenge. To see more of this project check out Week 1 and Week 2 .
Stay tuned for the big reveal (and the full reveal of this flooring) and tips and tricks for caring for your Vinyl Tile floor!


how to install peel and stick tiles
Source: https://www.nelliebellie.com/how-to-install-peel-and-stick-vinyl-tile/
Posted by: dickinsondifusest.blogspot.com
0 Response to "how to install peel and stick tiles"
Post a Comment